Shin splints – what is it and how it it treated?
Does the front of your shin hurt when you walk or run and worried you might have shin splints? Find out what it is, what treatment is involved and how to avoid it in the future!
What is shin splints?
Shin splints is a generic term that means pain in the front of your shin. In this blog we will be talking about Medial Tibial Stress Syndrome (MTSS), which is one of the most common forms of shin pain and what we generally refer to as shin splints. With shin splints, people often feel pain when they’re running which will increase as they run further. In severe cases, it may also be painful to walk. It’s usually not too painful at rest.
What are the symptoms of shin splints? What does it feel like?
People with shin splints have pain in the bottom third of their shin, which tends to feel like a dull ache like a bruise. It will be become more painful with activities such as running, walking or high impact sports (rugby, soccer, tennis and basketball for example) and will feel better with rest. In the early stages, some people find they are able to push through pain when running only for it to worsen as they continue.
There are a number of other conditions which share symptoms with shin splints; these include stress fractures, chronic exertional compartment syndrome (CECS) or nerve issues, so it’s important to get checked out by a qualified health professional.
Who gets shin splints?
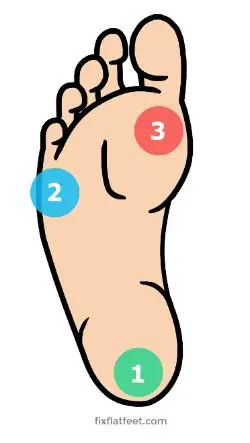
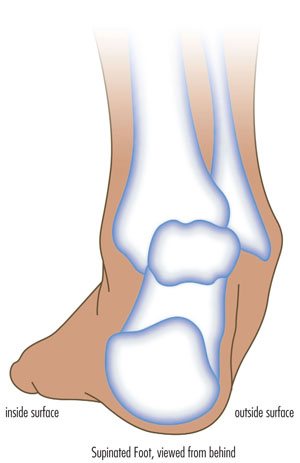
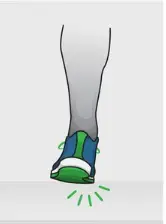
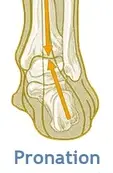
Shin splints is an overload injury – this means that it occurs most commonly when there has been an increase in exercise which is more than the body can handle. This could be someone who has started running and is rapidly increasing their milage, or someone who has been training intensely all season for a sports team. People in the military are also very prone to it due to the high impact that they experience as part of their jobs – up to 35% of military personnel (Moen et al, 2012)! There is also some evidence that people with flat feet or a narrow running stance are more prone to it (Winters et al, 2018).
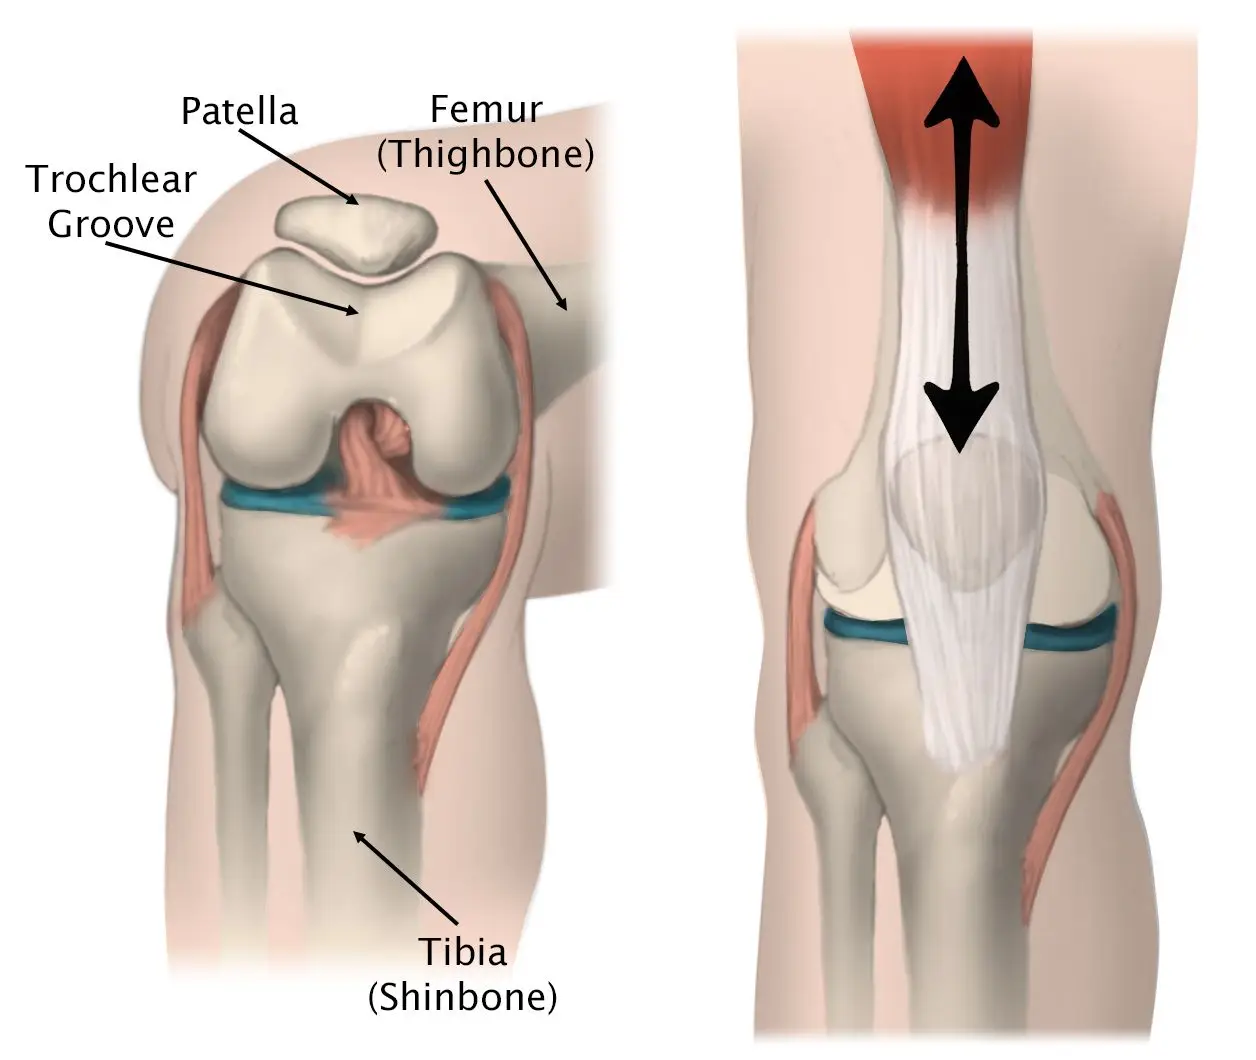
What is actually happening?
There are two main theories as to what causes shin splints; one thought is that the bone itself gets overloaded, and this is what causes you pain, whilst the other is that the membrane around the bone is inflamed (Winters et al, 2018).
What does treatment involve?
As shin splints is an overload issue, that means we need to stop the things that are making it worse. Everyone is unique with different activity levels so we’ll work with you to identify your particular aggravating factors. For runners, this might be reducing your weekly mileage and replacing it with cycling to keep your fitness levels up. For people playing rugby, we might focus on drills and skills and less on sprints.
You will also implement exercises to help you get stronger. The stronger a muscle is, the more force goes through the muscle and the less through the bone. Working on the muscles in your lower leg can help with absorbing forces from running and avoiding irritating the sore bone.
It is important to not exercise through pain with shin splints. We know from research that ‘toughing it out’ means it takes a lot longer to heal – runners who ran through pain took, on average, over 100 days to return to sport (Moen et al., 2012). We find people recover better when they progress their exercises without increasing their pain.
Is there anything I can do to prevent it?
Absolutely! One of the most important things is slowly building up activities. For running, we normally recommend only increasing milage by about 10% each week. It’s normal to get occasional twinges but if you notice it continuing or getting worse, come and chat with our friendly team of physiotherapists and we can help you get back on track.
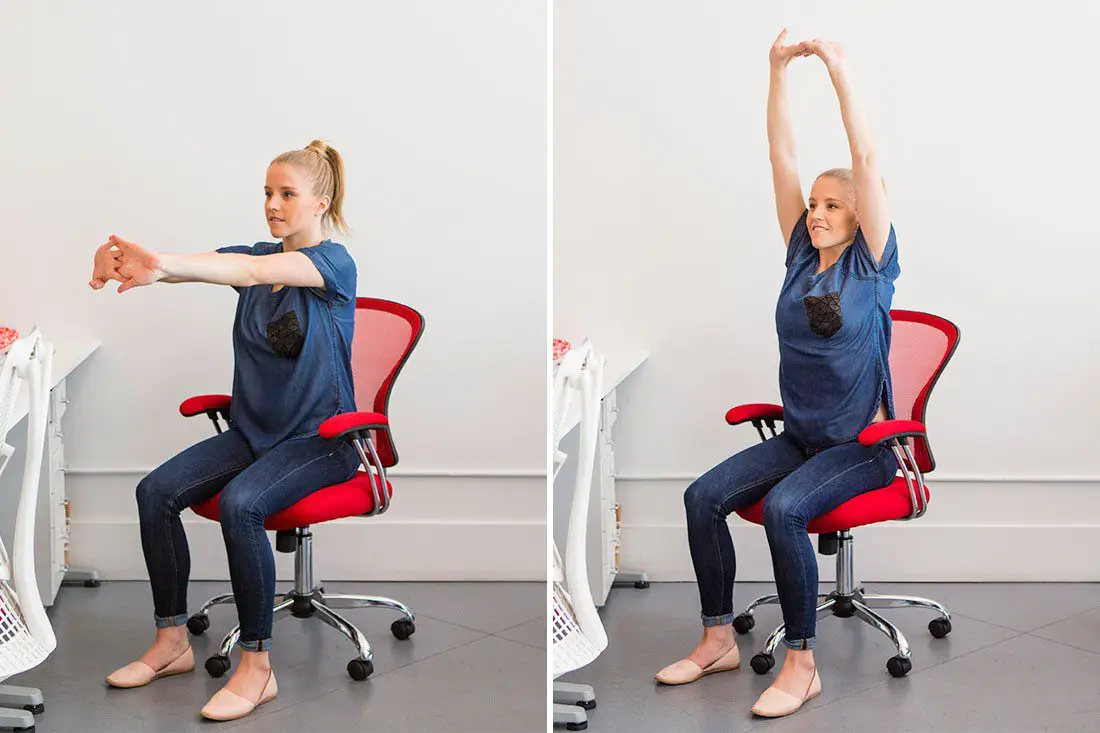
Here are three exercises that can help you prevent shin splints. Aim to complete 3 sets of 20+ a week – when they get easier, add some weight for an additional challenge.
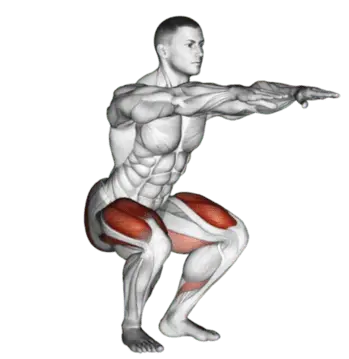
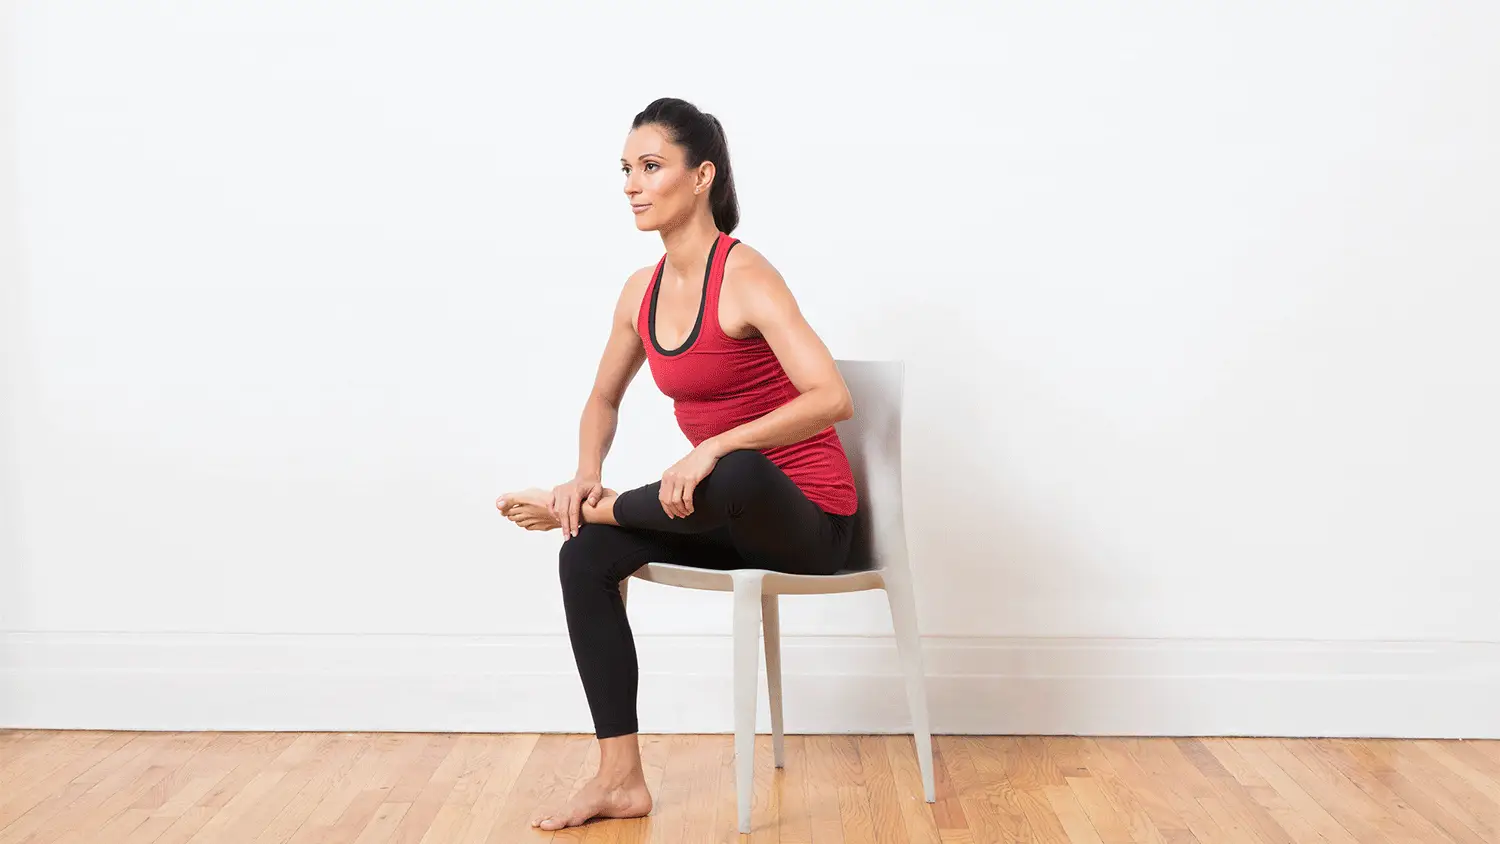
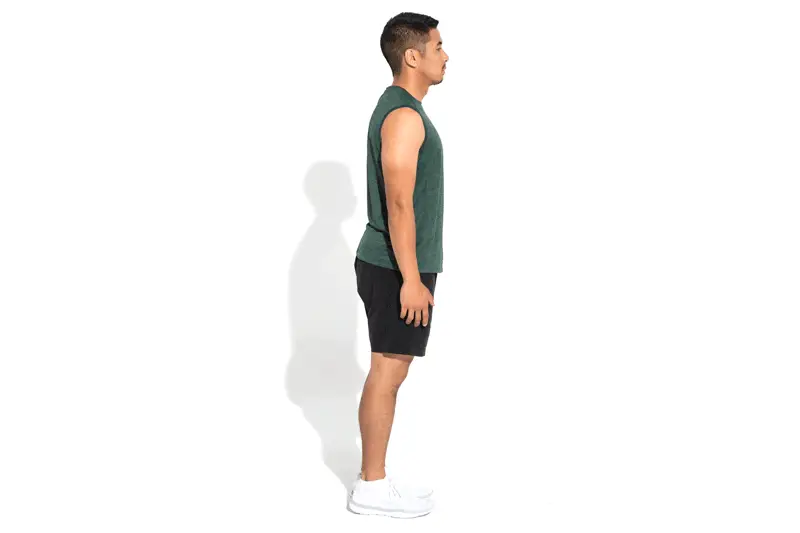
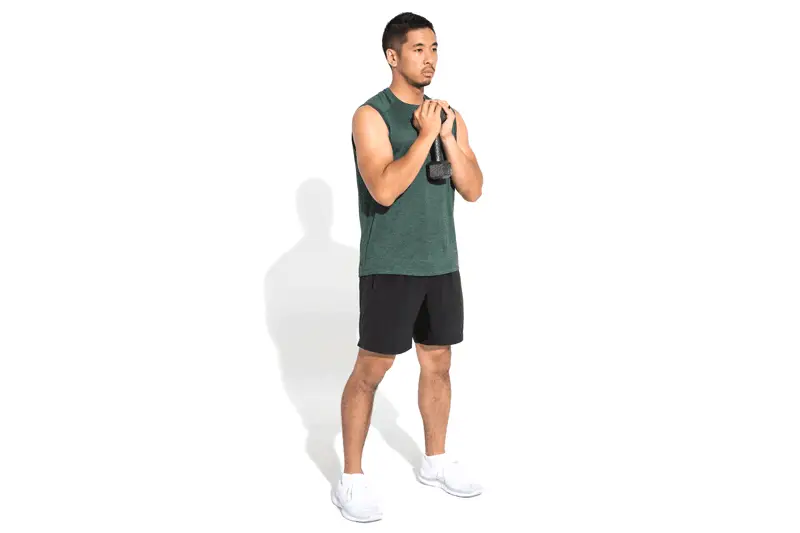
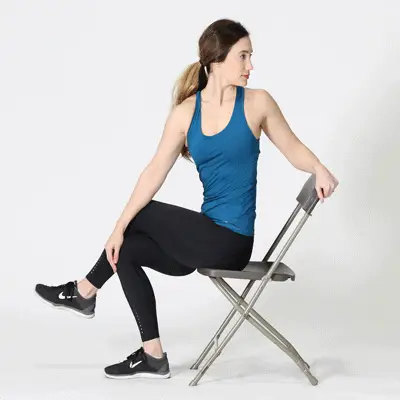
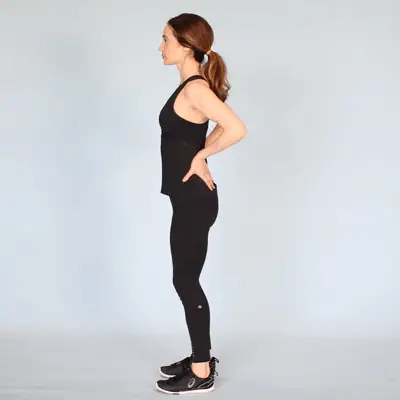
- Soleus raise – the soleus is one of two calf muscles and is more active when your knee is bent. It is a very important muscle involved in running and is not often trained specifically. This exercise can help target it and make it stronger so that it can keep working for longer.
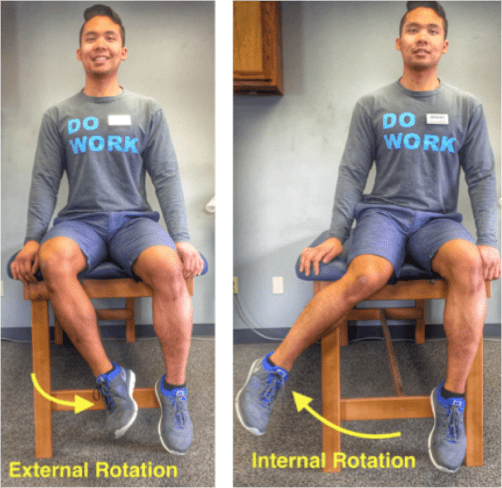
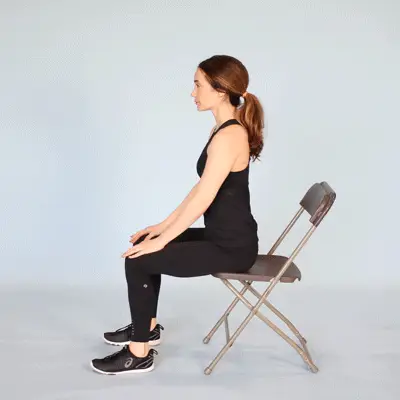
- Tibialis anterior raise – your tibialis anterior is a muscle at the front of the shin and helps absorb force as you run.
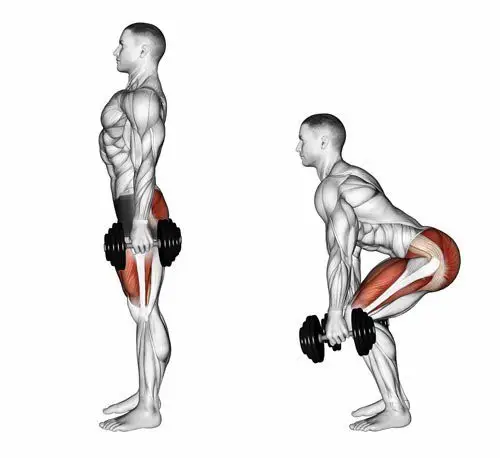
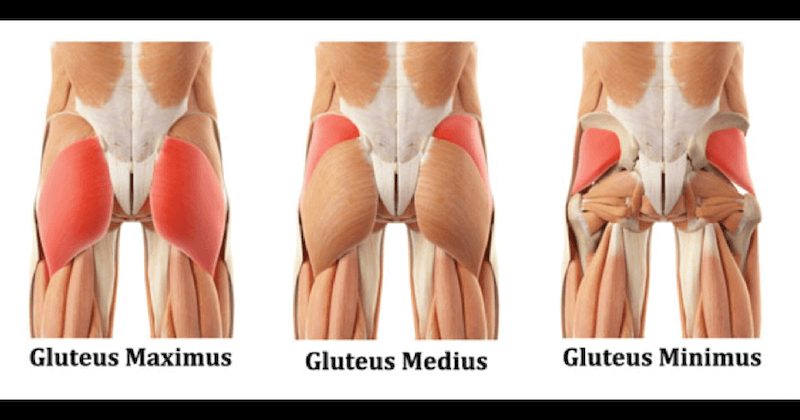
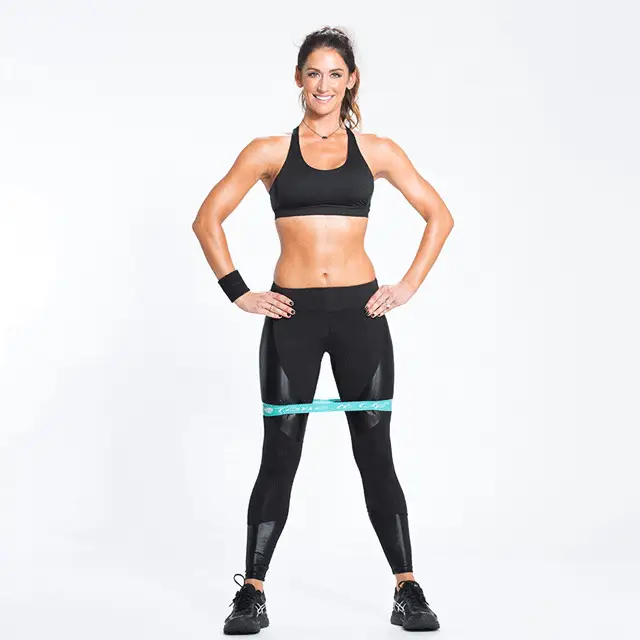
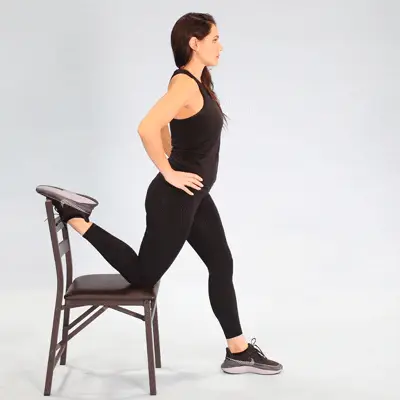
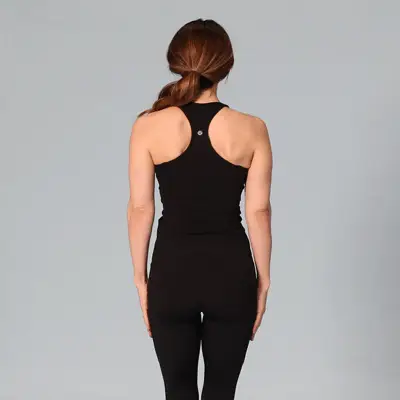
- Single leg deadlift against a wall – this works the hip muscles that keep your knees in alignment really well. It also has the benefit of strengthening your hamstrings, which are a common running injury
References
Moen M., Holtslag L., Bakker E., Baten C., Weir A. et al, (2012) ‘The treatment of medial tibial stress syndrome in athletes: a randomize clinical trial’ Sports Medicine, Arthroscopy, Rehabilitation, Therapy & Technology: SMARTT 30 (4)
Winters M., Bakker E., Moen M. et al, 2018 ‘Medial tibial stress syndrome can be diagnosed reliably using history and physical examination’ British Journal of Sports Medicine 52(19) pp.1267-1272