Managing Your Heel Pain
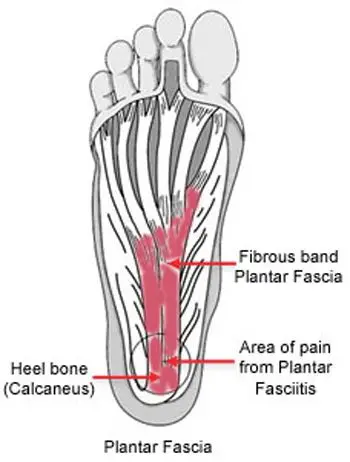
Plantar fasciitis is a very common cause of heel pain. It is associated with inflammation of the thick web-like ligament (plantar fascia) which runs across the base of your heel to the front of your foot. The plantar fascia provides support to the arch of your foot and is a shock-absorber, helping you walk. Hence it is obvious that this ligament experiences a considerable amount of wear and tear in your day to life.
Symptoms
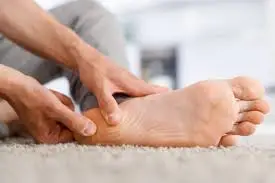
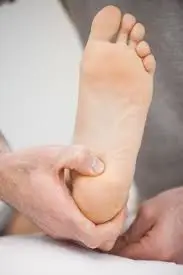
Plantar fasciitis is associated with inflammation of plantar fascia triggered by the development of small tears in the plantar fascia which leads to heel pain and other symptoms. This condition mostly develops gradually and worsens over time. You may notice some swelling, redness, and warmth in the affected region. You may experience more pain in the centre of your heel, which may radiate along the sole of your foot. The pain may be achy, sharp, dull, stabbing. It is mostly experienced when initiating movement first thing in the morning or after a period of inactivity, and may ease after a period of mobility. You may have no resting as the plantar fascia is offloaded and relaxed. It generally impacts just one foot, but it may impact both feet.
Causes
The plantar fascia is a thick web-like ligament which supports the arch of your foot and absorbs shock when you walk. Excessive stress and tension on the plantar fascia may cause smalls tears. Repeated stretching and tearing may inflame and irritate the fascia, though the cause remains unclear in many cases of plantar fasciitis.
Key factors which may increase your risk of developing this condition include:
- Foot mechanics: Having flat feet or very high arches or adopting abnormal gait patterns may have an impact of the way your weight is dispersed when you are standing/running/walking and lead to excessive stress on the plantar fascia
- Obesity: Extra weight increases the tension on the plantar fascia
- Exercises: Certain exercises such as long-distance running/walking and dancing may put more stress on your heel and plantar fascia
- Age and Gender: Plantar fasciitis is more often noted in women than men, and is most common in the 40-to-60-year age group.
- Occupation: which require prolonged periods of walking and standing especially on hard surfaces
- Sudden and rapid change in activity levels
- Footwear: Wearing high heels and/or poor fitting shoes that do not provide sufficient arch support cushioning
- Muscle tightness: particularly of your lower limbs
Diagnosis

The diagnosis of this condition may be determined by your medical and occupational history, the nature, length and severity of your signs and symptoms, and the existence of localized tenderness in your heel. You may be referred on for imaging such as X-rays, ultrasounds or MRIs to aid the diagnosis and to possibly rule out other causes for your symptoms (fractures, arthritis, heel spurs etc).
Management
Initial management of this condition is focused on the reduction of pain and inflammation:
- Resting is vital
- Ice application
- Taking anti-inflammatory medications
- Wearing appropriate and supportive footwear with arch supports and shock absorbing orthotics
- Getting your foot and ankle taped for sufficient support and alignment
- Physiotherapy (involving a graduated rehabilitation program of stretching/strengthening exercises)
If you still do not notice any improvement in your symptoms, your doctor may recommend corticosteroid therapy. Corticosteroid medication is injected into the impacted region with the purpose of treating the inflammation directly hence, relieving your pain. Using a splint at night to avoid the Achilles tendon and plantar fascia from tightening while you sleep may also be recommended at this time. A surgical intervention is seldom recommended and is only usually opted for where the pain is severe and all other treatment has failed. Please discuss your management options with your doctors.
Prevention
Here are some helpful tips to prevent the development of plantar fasciitis and decrease the risk of reaggravating your symptoms:
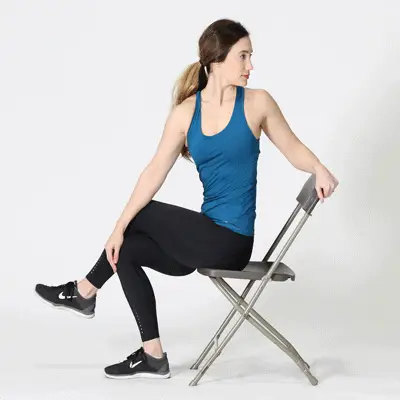
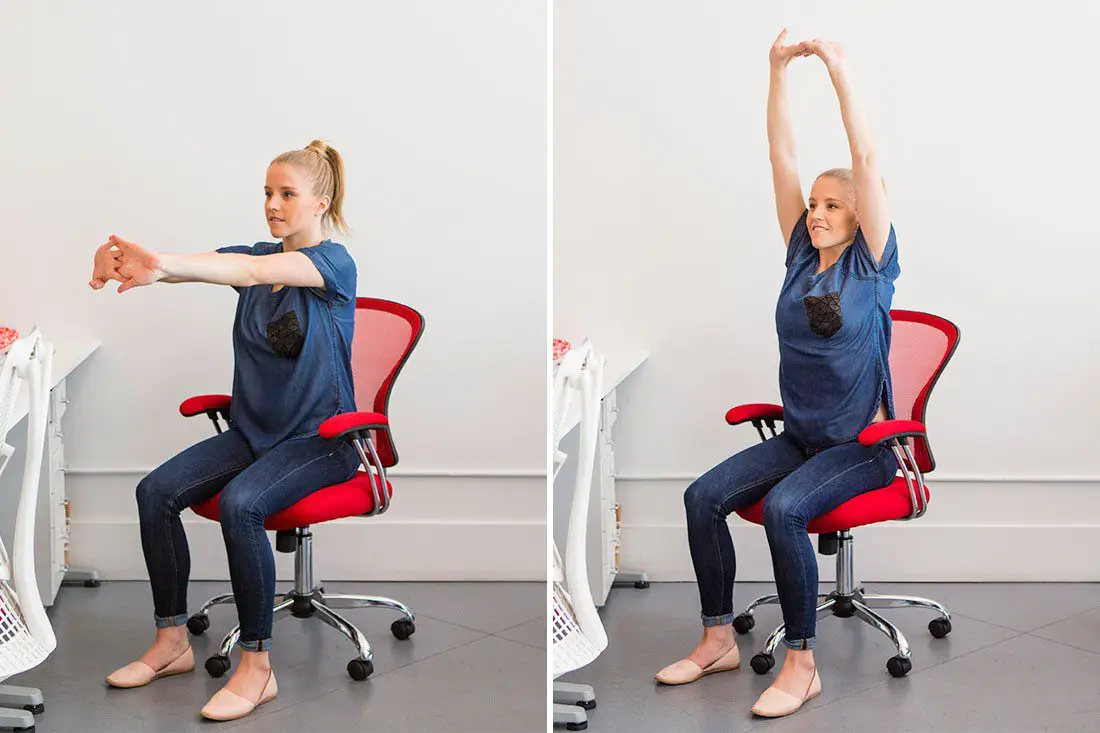
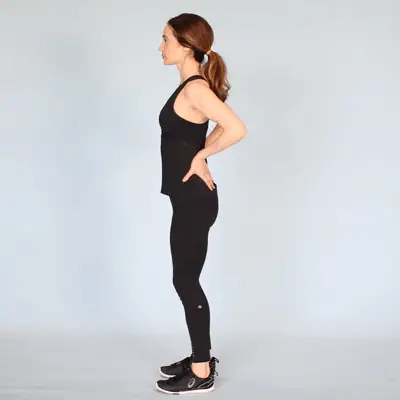
- Ensure you make warm ups and cool downs as part of your exercise regimes
- Undertake exercises to strengthen your lower limb muscles
- Regularly stretch your Achilles, calf and intrinsic foot muscles to increase their flexibility
- Gradually increase your activity and exercise levels
- Maintain a healthy body-weight
- Wear appropriate and supportive footwear (use orthotics for support if needed)
- Take regular rest breaks if standing and or walking for prolonged periods of time at work