fbpx
Your first step to recovery

Managing Your Heel Pain


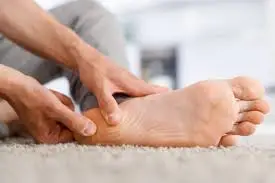
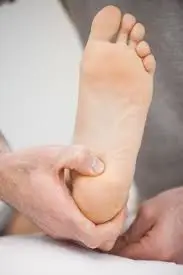
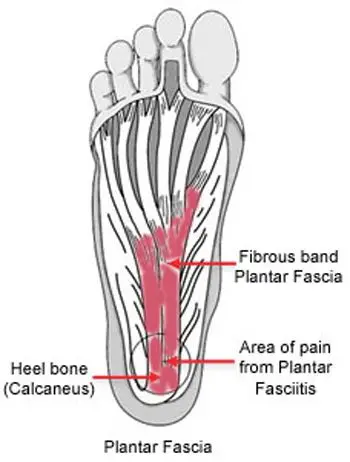
Plantar fasciitis is a very common cause of heel pain. It is associated with inflammation of the thick web-like ligament (plantar fascia) which runs across the base of your heel to the front of your foot. The plantar fascia provides support to the arch of your foot and is a shock-absorber, helping you walk. Hence it is obvious that this ligament experiences a considerable amount of wear and tear in your day to life.


Symptoms


Plantar fasciitis is associated with inflammation of plantar fascia triggered by the development of small tears in the plantar fascia which leads to heel pain and other symptoms. This condition mostly develops gradually and worsens over time. You may notice some swelling, redness, and warmth in the affected region. You may experience more pain in the centre of your heel, which may radiate along the sole of your foot. The pain may be achy, sharp, dull, stabbing.  It is mostly experienced when initiating movement first thing in the morning or after a period of inactivity, and may ease after a period of mobility. You may have no resting as the plantar fascia is offloaded and relaxed. It generally impacts just one foot, but it may impact both feet.


Causes

The plantar fascia is a thick web-like ligament which supports the arch of your foot and absorbs shock when you walk. Excessive stress and tension on the plantar fascia may cause smalls tears. Repeated stretching and tearing may inflame and irritate the fascia, though the cause remains unclear in many cases of plantar fasciitis.


Key factors which may increase your risk of developing this condition include:

  • Foot mechanics: Having flat feet or very high arches or adopting abnormal gait patterns may have an impact of the way your weight is dispersed when you are standing/running/walking and lead to excessive stress on the plantar fascia
  • Obesity: Extra weight increases the tension on the plantar fascia
  • Exercises: Certain exercises such as long-distance running/walking and dancing may put more stress on your heel and plantar fascia
  • Age and Gender: Plantar fasciitis is more often noted in women than men, and is most common in the 40-to-60-year age group.
  • Occupation: which require prolonged periods of walking and standing especially on hard surfaces
  • Sudden and rapid change in activity levels
  • Footwear: Wearing high heels and/or poor fitting shoes that do not provide sufficient arch support cushioning
  • Muscle tightness: particularly of your lower limbs


Diagnosis

The diagnosis of this condition may be determined by your medical and occupational history, the nature, length and severity of your signs and symptoms, and the existence of localized tenderness in your heel. You may be referred on for imaging such as X-rays, ultrasounds or MRIs to aid the diagnosis and to possibly rule out other causes for your symptoms (fractures, arthritis, heel spurs etc).


Management

Initial management of this condition is focused on the reduction of pain and inflammation:

  • Resting is vital
  • Ice application
  • Taking anti-inflammatory medications
  • Wearing appropriate and supportive footwear with arch supports and shock absorbing orthotics
  • Getting your foot and ankle taped for sufficient support and alignment
  • Physiotherapy (involving a graduated rehabilitation program of stretching/strengthening exercises)

If you still do not notice any improvement in your symptoms, your doctor may recommend corticosteroid therapy. Corticosteroid medication is injected into the impacted region with the purpose of treating the inflammation directly hence, relieving your pain. Using a splint at night to avoid the Achilles tendon and plantar fascia from tightening while you sleep may also be recommended at this time. A surgical intervention is seldom recommended and is only usually opted for where the pain is severe and all other treatment has failed. Please discuss your management options with your doctors.


Prevention

Here are some helpful tips to prevent the development of plantar fasciitis and decrease the risk of reaggravating your symptoms:

  • Ensure you make warm ups and cool downs as part of your exercise regimes
  • Undertake exercises to strengthen your lower limb muscles
  • Regularly stretch your Achilles, calf and intrinsic foot muscles to increase their flexibility
  • Gradually increase your activity and exercise levels
  • Maintain a healthy body-weight
  • Wear appropriate and supportive footwear (use orthotics for support if needed)
  • Take regular rest breaks if standing and or walking for prolonged periods of time at work

Knee pain from squats explained

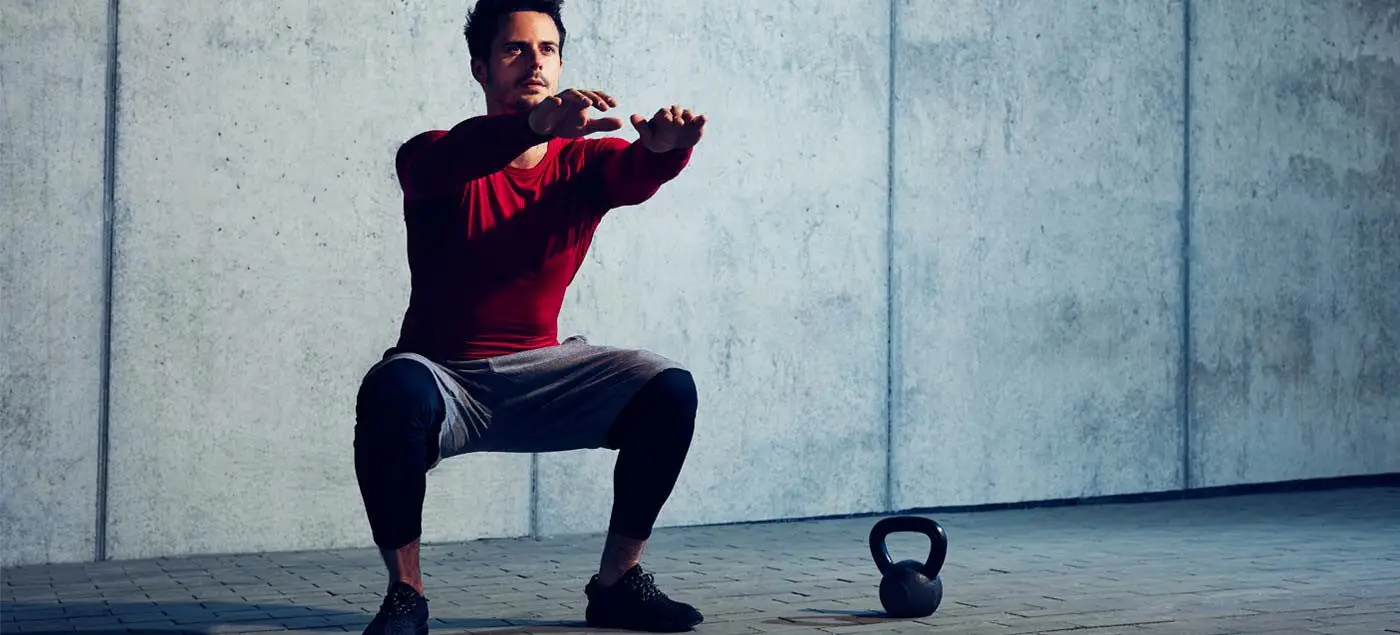
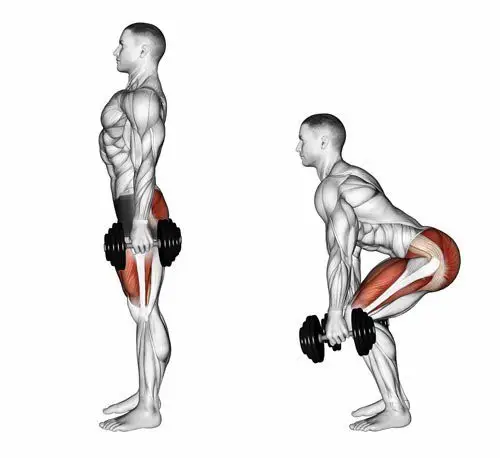
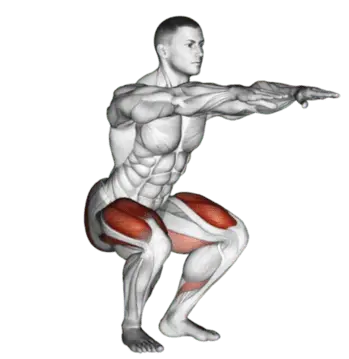
Whether you are squatting racks of weights in the gym or squatting down to the floor to play with your children or simply squatting to sit in a chair – you are still squatting.

Truth of the matter is, squatting is more than just an exercise. If you think about it, it is a functional movement we all do many times in the day.

Knee pain from squatting is a common compliant. Although it is common, it doesn’t mean it is normal.

More often than not, the problem doesn’t only lie at the knee joint. We have to understand the complexity of our body in how our knees are directly linked with how your hips and ankles are moving. So, the purpose of this blog is not only to help you understand the basic mechanics involved in the legs when you squat, but also to help you perfect your lifting craft in the gym.

A bit on what is a squat?

Squatting is characterized as a ‘compound movement’ – fancy fitness lingo that simply means, multiple joints and muscles are moving and working in harmony to contribute to the very movement of squatting.

So here is a checklist to help you find the missing links.

Squatting check list

1.      Foot arches

Feet are the foundation to our body. From a balance perspective we can go as far to say that steady the feet, steady the rest of the body. So, what happens at our feet is extremely important to consider when we talking about knee pain in general, let alone, knee pain when squatting.

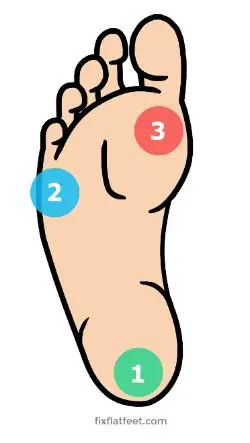
Foot stability can be best explained using the analogy of a ‘tripod’. As tripod has 3 points of contact with the ground, so should our feet ideally.

The three points of a contact, as in a tripod looks like this in our feet.

  • Ball of the big toe
  • Ball of the 5th toe
  • Heel

Keeping this in mind, lets assess the foundation of your body – Your feet with this small exercise.

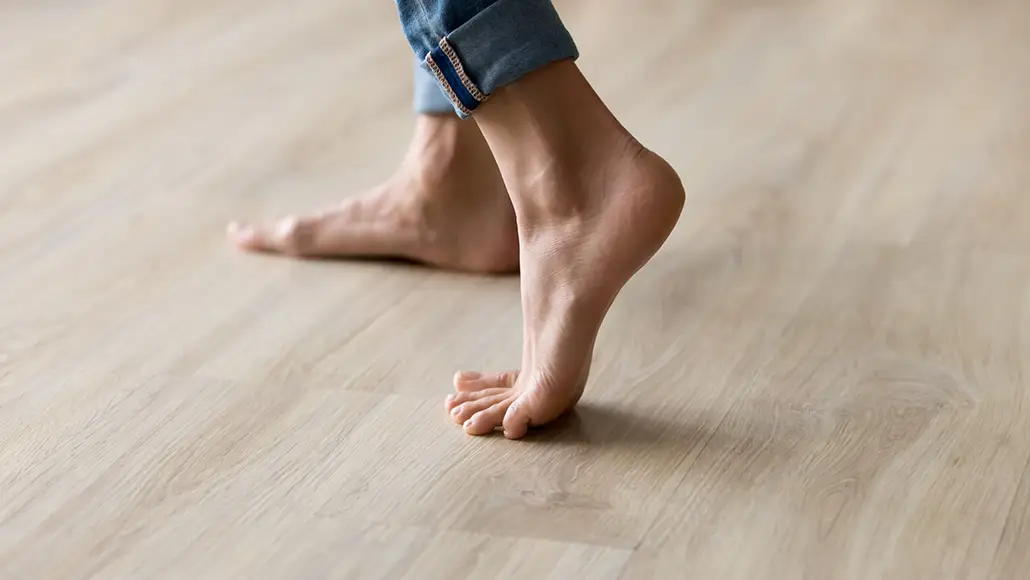
Take your shoes and socks off. Stand up tall, plant both your feet flat on the ground. Take a look at both sides individually. What do you see?

  • Either of your feet collapse in?
  • Are either of your arches diminished?

Take note of it. Next, remain standing and focus on what you feel at sole of your feet.

Think about the 3 points of contact – the tripod.

  • Do you feel you have evenly distributed pressure?

Take note.

Now stand on one leg – think about the same TWO things the arch and the pressures.

  • Which way did your foot go?
  • Which points of contact in the foot had more pressure?
  • Did your toes 3-5th lose contact from ground?

If your foot caved in and the last 3-5th toes lost ground contact, then your foot pressure is likely to sit between big toe, the base of 2-3rd toes and heel, suggesting you have a narrowed base of support. This will force the knee, hip and the rest of your body to follow in the direction, creating risk of building up unwanted pressures in others areas of your body. Before you know it, unwanted pressure results in inflammation and pain.

It is important that you consider this of high value and practice on pressure control and arch control before your look at the overall picture of squatting.

2.      Ankle mobility

Your foot and ankle are closely linked – between them there are 28 bones, many muscles, ligaments and connective tissue. These anatomical structures work together to provide stability and mobility of the joints – considered KEY essentials to squatting.

Too much or too little flexibility in the ankle can be a problem. In most cases, ankle injuries result in stiffness, a hinderance to simple functional movements.

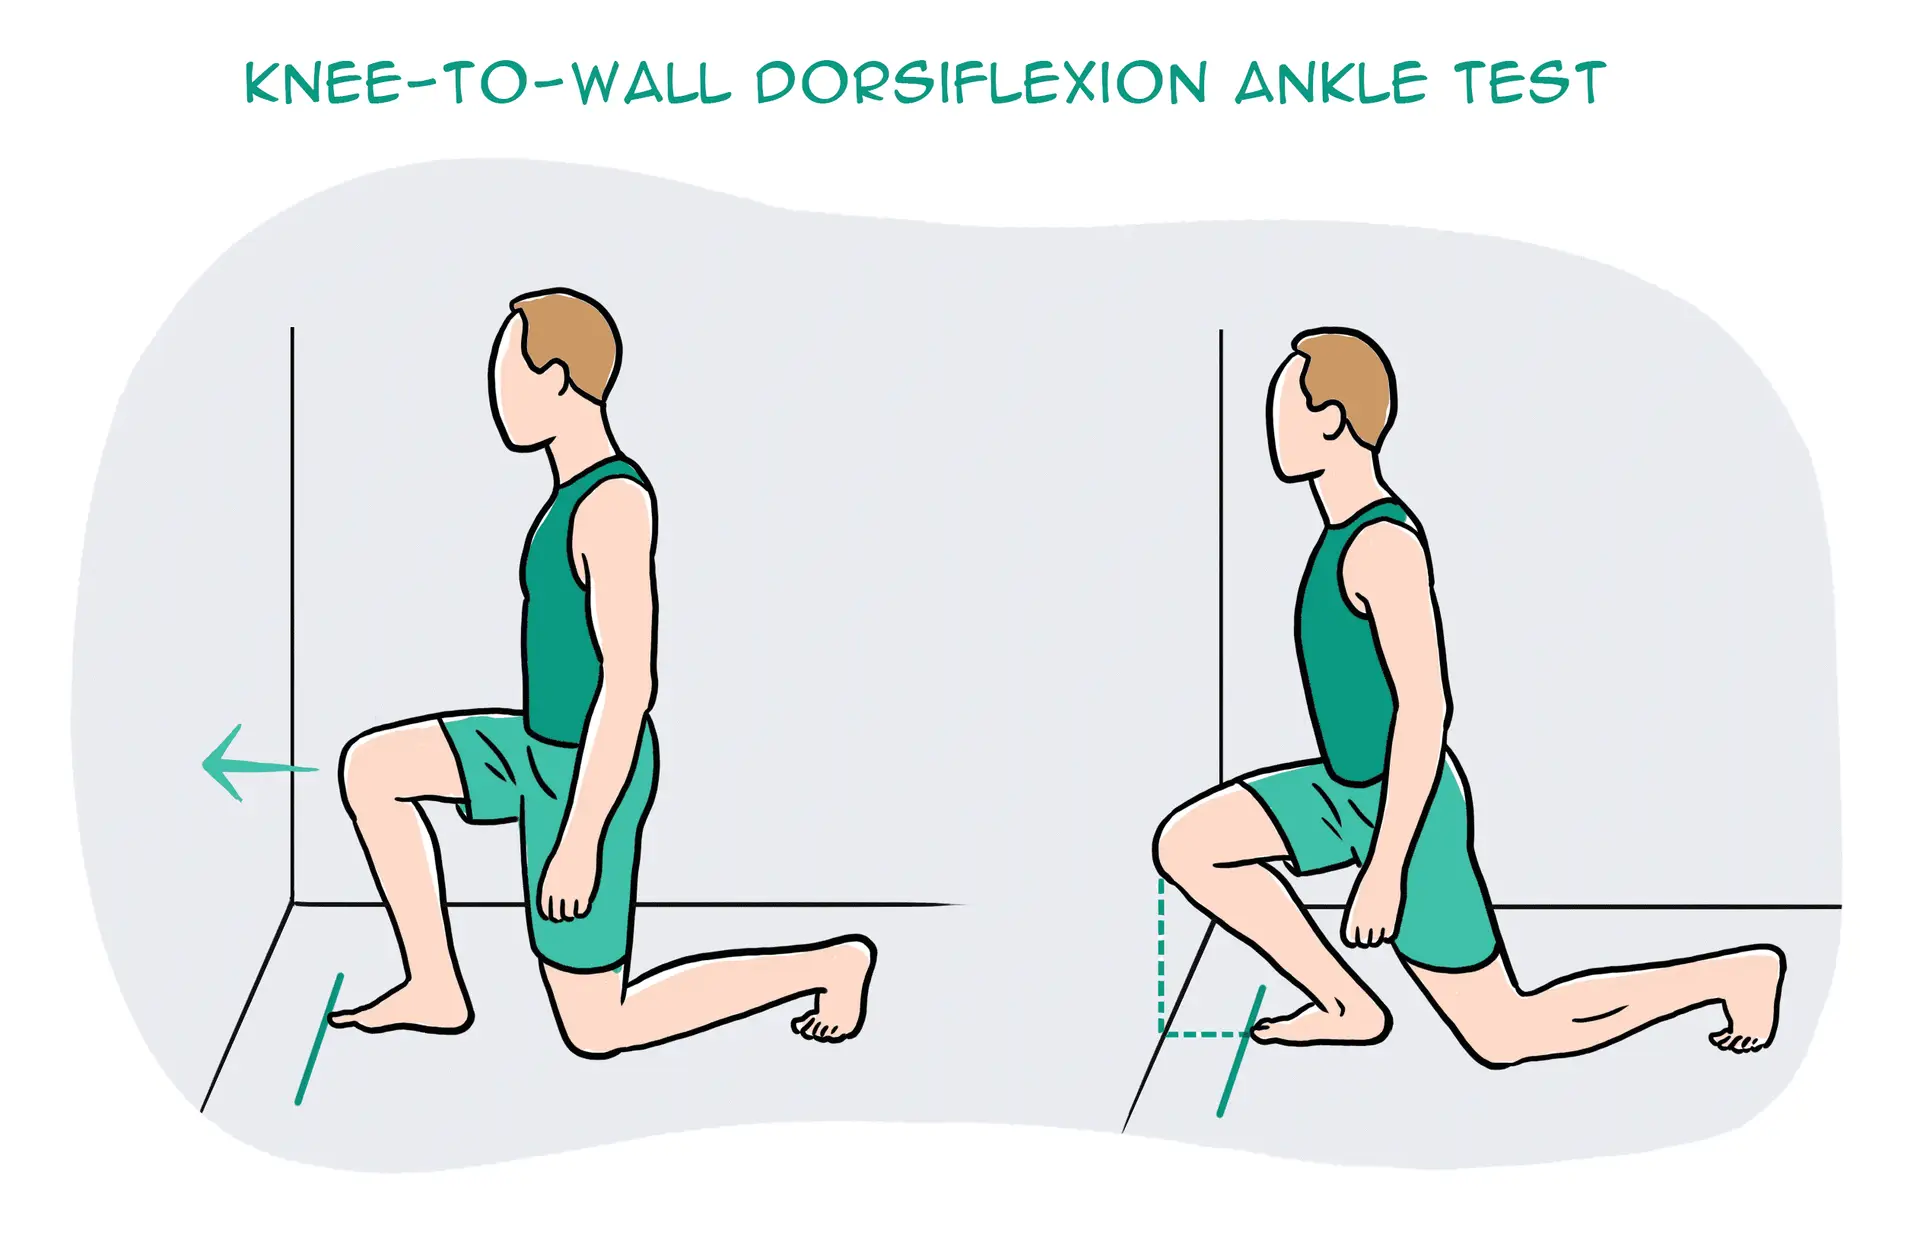
So, let’s take a closer look at your ankle with a simple mobility test.

Kneel down in front of a wall. Signal a thumbs up and measure the width of it from the wall and mark it. Place your foot on the line and drive your knee forward to the wall. Make sure you drive your knee straight forward without caving in or twisting in with your hips.

What do you see?

  • Can you touch your knee to the wall?
  • What about the other side?

Consider what you feel.

  • One side feels almost effortless, the other side doesn’t?

It is not uncommon to notice that the unaffected side may not be as flexible as you thought.

This is point to note – you have just discovered a link and a potential cause of your knee pain.

You need focus on stretching the muscles of your leg in a way that similar to ‘squatting’ – here is a good one!

  • Box ankle stretch

Use a box or a chair, plant your foot flat and rock forwards until you feel a stretch in the calf and ankle. Remember to make sure your knee doesn’t cave in or your body doesn’t twist. Do this for 20-25 repetitions, 2-3 sets. Re-test yourself.

3.      Hips

Your feet are directly tied to your hips. So, the action of your hip and feet should be working together for good purposeful movement.

Here is a quick way to check this yourself:

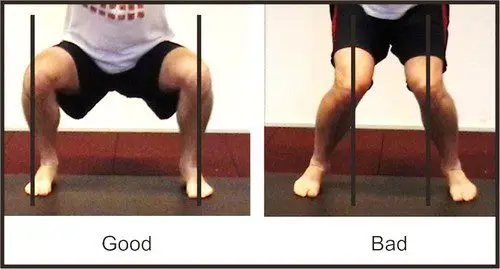
Stand tall, with your feet planted shoulder width apart. Drive your knees out to the side. You will notice your foot arch lifts.

It might be a very small amount, but worth taking note. Because, this is no different when you are squatting. If your knees collapse in, it may mean that you are not recruiting the key muscles of your hips that prevent the knees collapsing.

So, driving your knees out to match the alignment of your hip-ankle not only lifts the arches but begins the process of recruitment patterns of hip muscles to engage.

The common deficit contributing to your knee pain may be weak gluteal muscles.

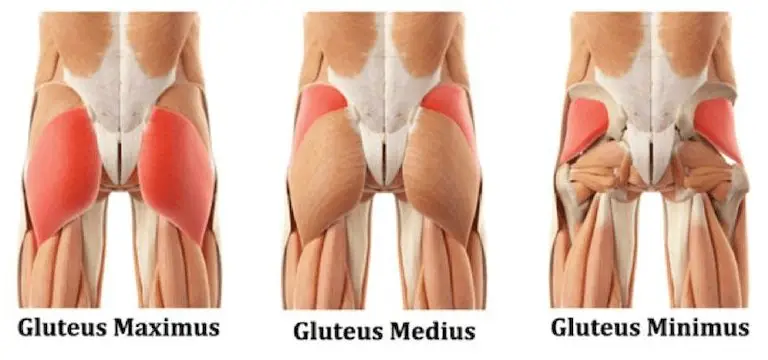
Gluteal muscles are powerful muscles of the lower limb. They are a group of three muscles, each with slight different function

  • Gluteal maximus – hip external rotation, hip extension
  • Gluteal medius – hip abduction, internal and external rotation, extension
  • Gluteal minimus – hip abduction and internal rotation

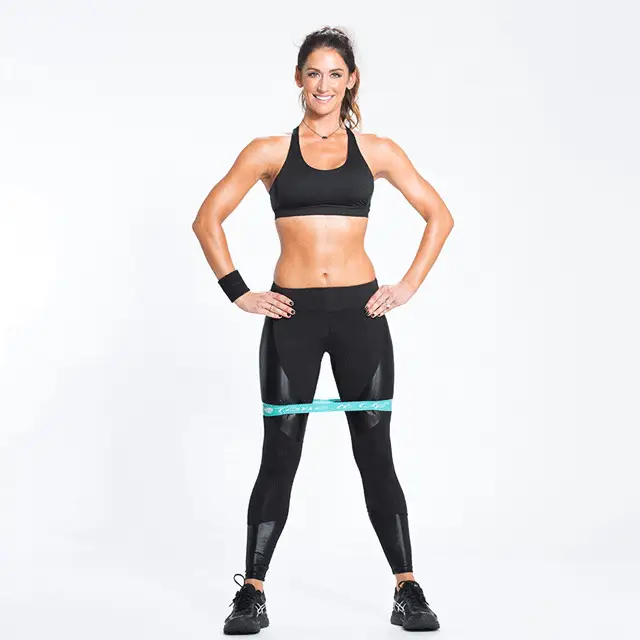
Banded squat

Banded squats are a great way to activate your gluteus. The band not only provide resistance but provides sensory information to help you learn to push into it, therefore avoid knees from collapsing in.

If you have a lighter level resistance band, place this at knee height.

Descend in to a squat position with emphasis on pushing you knee out into the resistance band, until you reach the hip-knee-ankle alignment.

Do this 15 times, 3 sets.

For starters, work at a level that is easy for you.

Build the reps ups as you gain confidence

  • Weak or inadequately recruited muscles could be a result of stiffness hips.

To check your flexibility, try this next test:

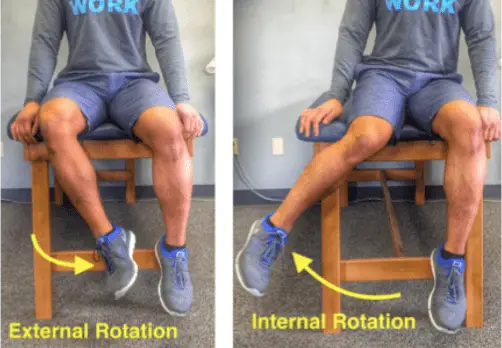
Sit on tall on a chair. Feet planted flat on ground at shoulder width apart. Test one leg at a time. Keeping your thigh in contact with the chair, drive your knee out to the side (internal rotation). Now try going inwards (external rotation).

What do you see?

  • Can internally rotate higher? External rotation is difficult? Or vice versa?

What do you feel?

  • Takes more effort going one way than the other?

Unlock the hips with this beginner hip stretch.

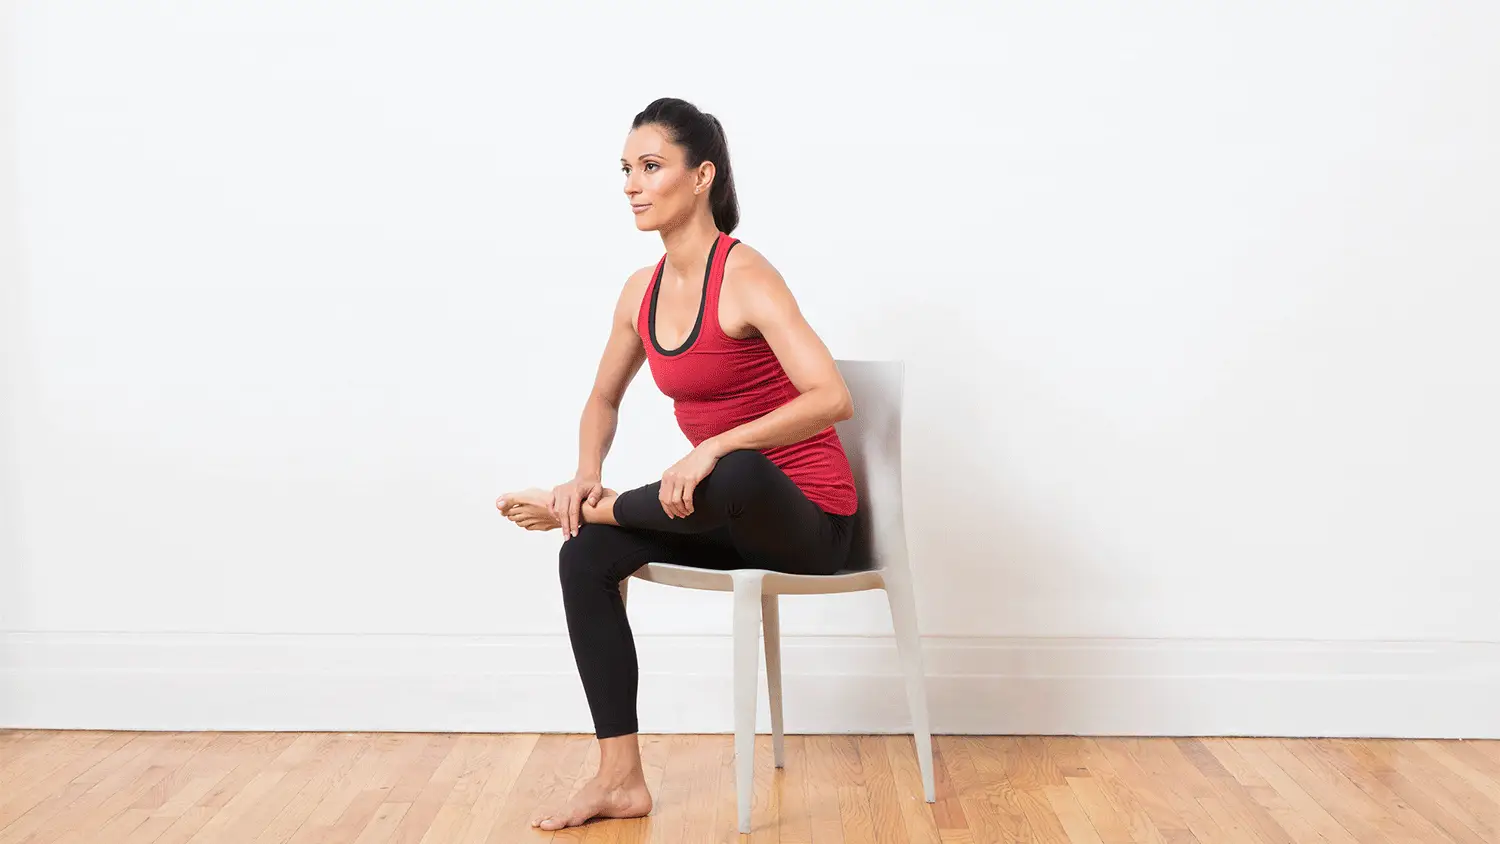
Sit upright on a chair. Cross one leg over on the other. You should feel a stretch in the buttock region. If not, progress by leaning forward with an upright posture. Hold for 15-20 seconds. Repeat 3-5 times.

Perfecting your squat

Perfect practice makes perfect. Now bearing the rules of movement in mind, practice your squats.

Some tips to help you better practice:

  • Do not worry about the depth of your squat

It’s the quality not the quantity. So as you begin to learn and adapt these principles, only squat down to a level where you feel in control of your foot, ankle, knee and hip.

  • Use a mirror

Visual learning is a great tool! It provides for a greater ability to correct your mistakes and perfect that ‘quality over quantity’ rule.

  • Start with barefoot

This allows you to connect the sensory receptors in the soles of your feet to the ground, making it much easier to learn the tripod grip.

Still having pain?

Remember, the complexity of our body and the complexity in how we move as whole can be the result of your knee pain. So, if you are still having pain – its time you get it checked.

Book yourself in for an appointment today.

The myth about foot pronation (flat foot)

Myth: Foot pronation(flat foot) is the enemy.

Quest - Article - Surgery Sometimes, Bracing Often, Caution Always |  Muscular Dystrophy Association

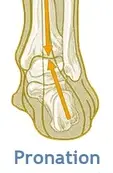
In the foot, pronation should occur naturally when the foot comes into contact with the ground. Pronation will appear as the foot rolling inward and the arch flattening.

What are the benefits?

  • Dissipates the force that the foot receives from the ground

  • Allows the foot to become a stable and mobile adaptor to enhance movement opportunity

  • Loads the muscles of the extensor chain (calf, quads, glutes) to convert ground reaction forces into forward momentum so we can propel efficiently.

So why have I been told this is bad?

So as you are now aware, pronation is very normal and a critical movement to ensure we move and propel ourselves forward efficiently.

What you may have heard someone say to you is that you ‘overpronate’?

Firstly, overpronation is subjective and not as black and white as it is sometimes made out to be. Overpronation has be defined as: ‘a foot that rolls inward toward the arch excessively’.

Foot Pronation: Underpronation & overpronation explained- The Foot Clinic

What we must understand is that a pronation can only happen when the foot has a stable tripod on the ground. This means that the calcaneus (heel bone), 1st metatarsal (big toe knuckle), 5th metatarsal (little toe knuckle) must all remain in contact when the foot rolls inwards and the arch flattens.

The Foot Tripod - Fix Flat Feet

So, If you have been told you are ‘overpronated’ , it is most likely that your whole foot is ‘everting’ NOT ‘overpronating’.

What is Eversion?

Eversion can be defined as: ‘the process of turning inside-out’.

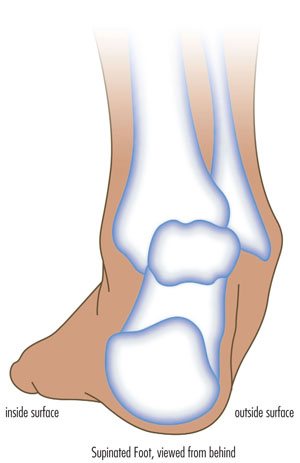
In pronation your heel must naturally ‘evert’ (sole of the heel will move away from the midline of the body) NOT your whole foot.

If your ‘whole foot’ everts (turns out) you will no longer have a stable foot tripod as the 5th metatarsal (little toe) will lose contact with the ground.

The key to ensuring this does not happen is to provide an environment for the bones of the midfoot (middle of the foot) and forefoot (toes) to experience the opposite motion to that of the heel. This will mean that the foot has an opportunity to truly pronate with a tripod on the ground.


So how can you help me do that?

  • At Physio fusion we can help you to bring your own body into alignment and create an environment in which the healing can begin

  • Foot strengthening exercises

  • Footwear advice

  • Referral to other healthcare specialists for further assistance (e.g. podiatrists)

To find your nearest Physio Fusion clinic and book an appointment call 09 6266186 or visit our website https://physiofusion.co.nz